Excluding Website Traffic Based on an IP Address in Google Analytics
Tracking the usage of your website can be very insightful. It helps identify which pages are the most popular, shows where your visitors are from, what browsers they use, etc. However, if you're visiting the website all the time to verify things are working, updating pages, etc. it can throw off the stats. So unless you're trying to pad the numbers, let's look at filtering out results by IP address in Google Analytics.
In case it isn't obvious, you'll need a Google Analytics account and the tracking code must be embedded within your website for the filter option to work. Also, the method for accessing the filters depends on which version of the analytics admin panel you're using. As far as I know, there are two versions of the panel which will be discussed in a moment. There may be other variations, but I can only talk about what available to me since I'm not on the Google payroll. Let's start with the new beta version.
Google Analytics Beta
To prevent our visits from being tracked, we need to:
- Log into Google Analytics
- Click the options icon near the top (see Figure 1)
- Click the link for the analytics account the filter applies to
- Click Filters (see Figure 2)
- Click New Filter (see Figure 3)
- Name the filter
- Select traffic from the IP addresses (see Figure 4)
- Enter the IP address to exclude
- Choose the website profile(s) the filter applies to and click Add
- Click Save
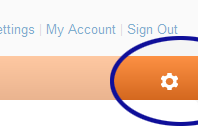
Figure 1. Options Icon
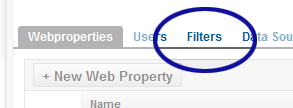
Figure 2. Filters Tab
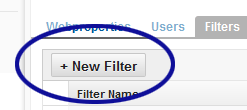
Figure 3. New Filter Button
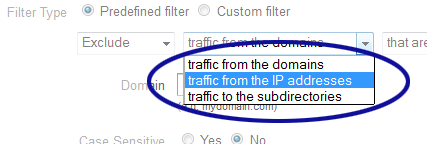
Figure 4. Traffic from the IP Addresses Option
Old Google Analytics
The steps for filtering by IP address are fairly similar in the old version:
- Log into Google Analytics
- Click Filter Manager (see Figure 5)
- Click Add Filter (see Figure 6)
- Follow steps 6 – 10 of the beta directions
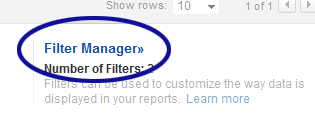
Figure 5. Filter Manager Link
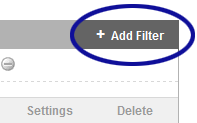
Figure 6. Add Filter Link
Keeping the Filter Updated
With the filter(s) in place, we can now visit our website(s) as much as we want without worrying about messing up the stats. Unfortunately, the unwanted stats may not be blocked forever. From time to time, IP addresses may change. So we should check that everything's up to date as needed.
It would be nice if the filter feature provided a quick way to get our IP address and plug it into the necessary form fields. Since that's not the case, we'll need another way to get the information. Luckily there are many different options that could be used. For example, typing "my ip address" into the Google search box provides your public IP address.
Related Links
- How do I create a filter? — provides a more in-depth description of the filter feature in Google Analytics


0 Comments
There are currently no comments.
Leave a Comment